Oops! Something went wrong while submitting the form.
Introduction
A content strategy is only useful when you can turn ideas into published pages. This chapter explains how to build a simple overview that lists every pillar, topic and article, so you always know what to produce next. I use Notion for this, but you can achieve the same result in Airtable or even Google Sheets.
By the end you will have a single, easy-to-scan board that tracks status, deadlines and owners. The board removes the need to ask “where were we again” and lets you focus on writing and optimisation instead of project chasing.
Why you need a system
A clear production roadmap saves hours of back-and-forth, especially when multiple people handle copy, approvals and SEO. It shortens the time from draft to live page, gets more content ranking sooner and frees mental space for creative work.
Key pillars of an effective system
Single database for visibility – keep every idea and deadline in one place so gaps and bottlenecks are obvious.
Objective scoring for priority – rate tasks on demand, effort and revenue value to decide what ships first.
Repeatable workflow for momentum – move each card through the same stages so nothing stalls in review.
Promotion loop for reach – schedule social and email pushes alongside publishing to make sure every piece earns an audience.
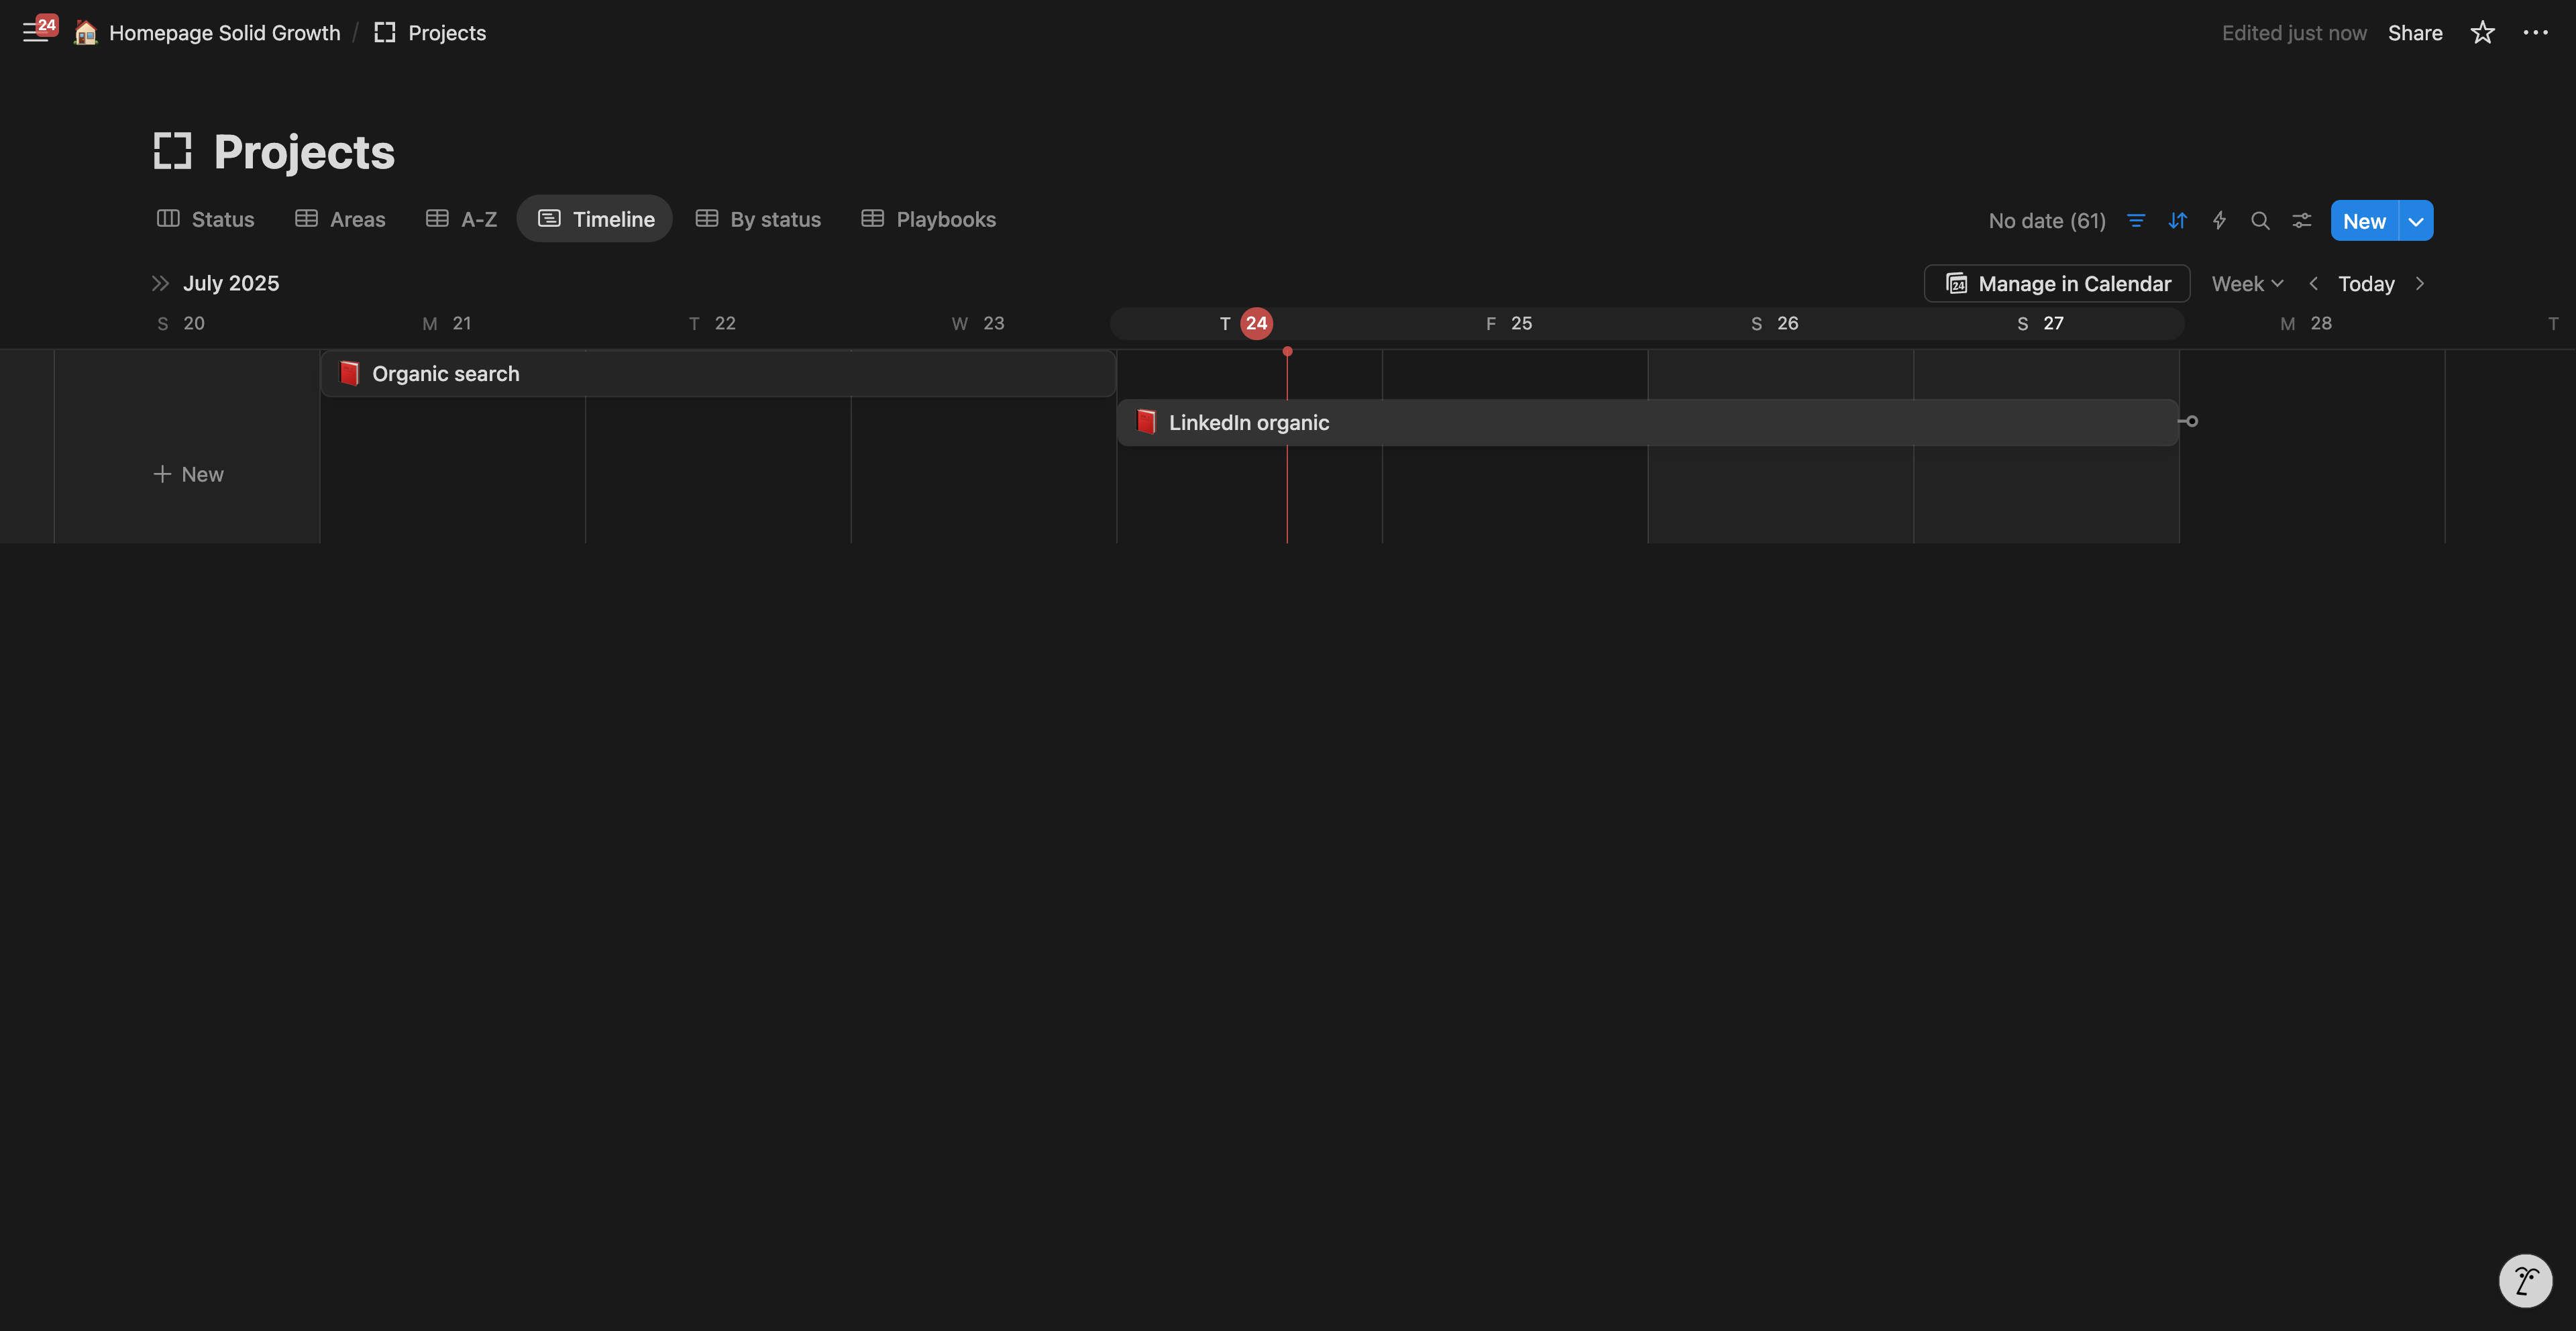
A single, connected workspace in Notion keeps every layer of the hierarchy visible and stops ideas from slipping through the cracks. You will create three linked databases Pillars, Topics and Articles so you can drill from the strategic view down to today’s writing task.
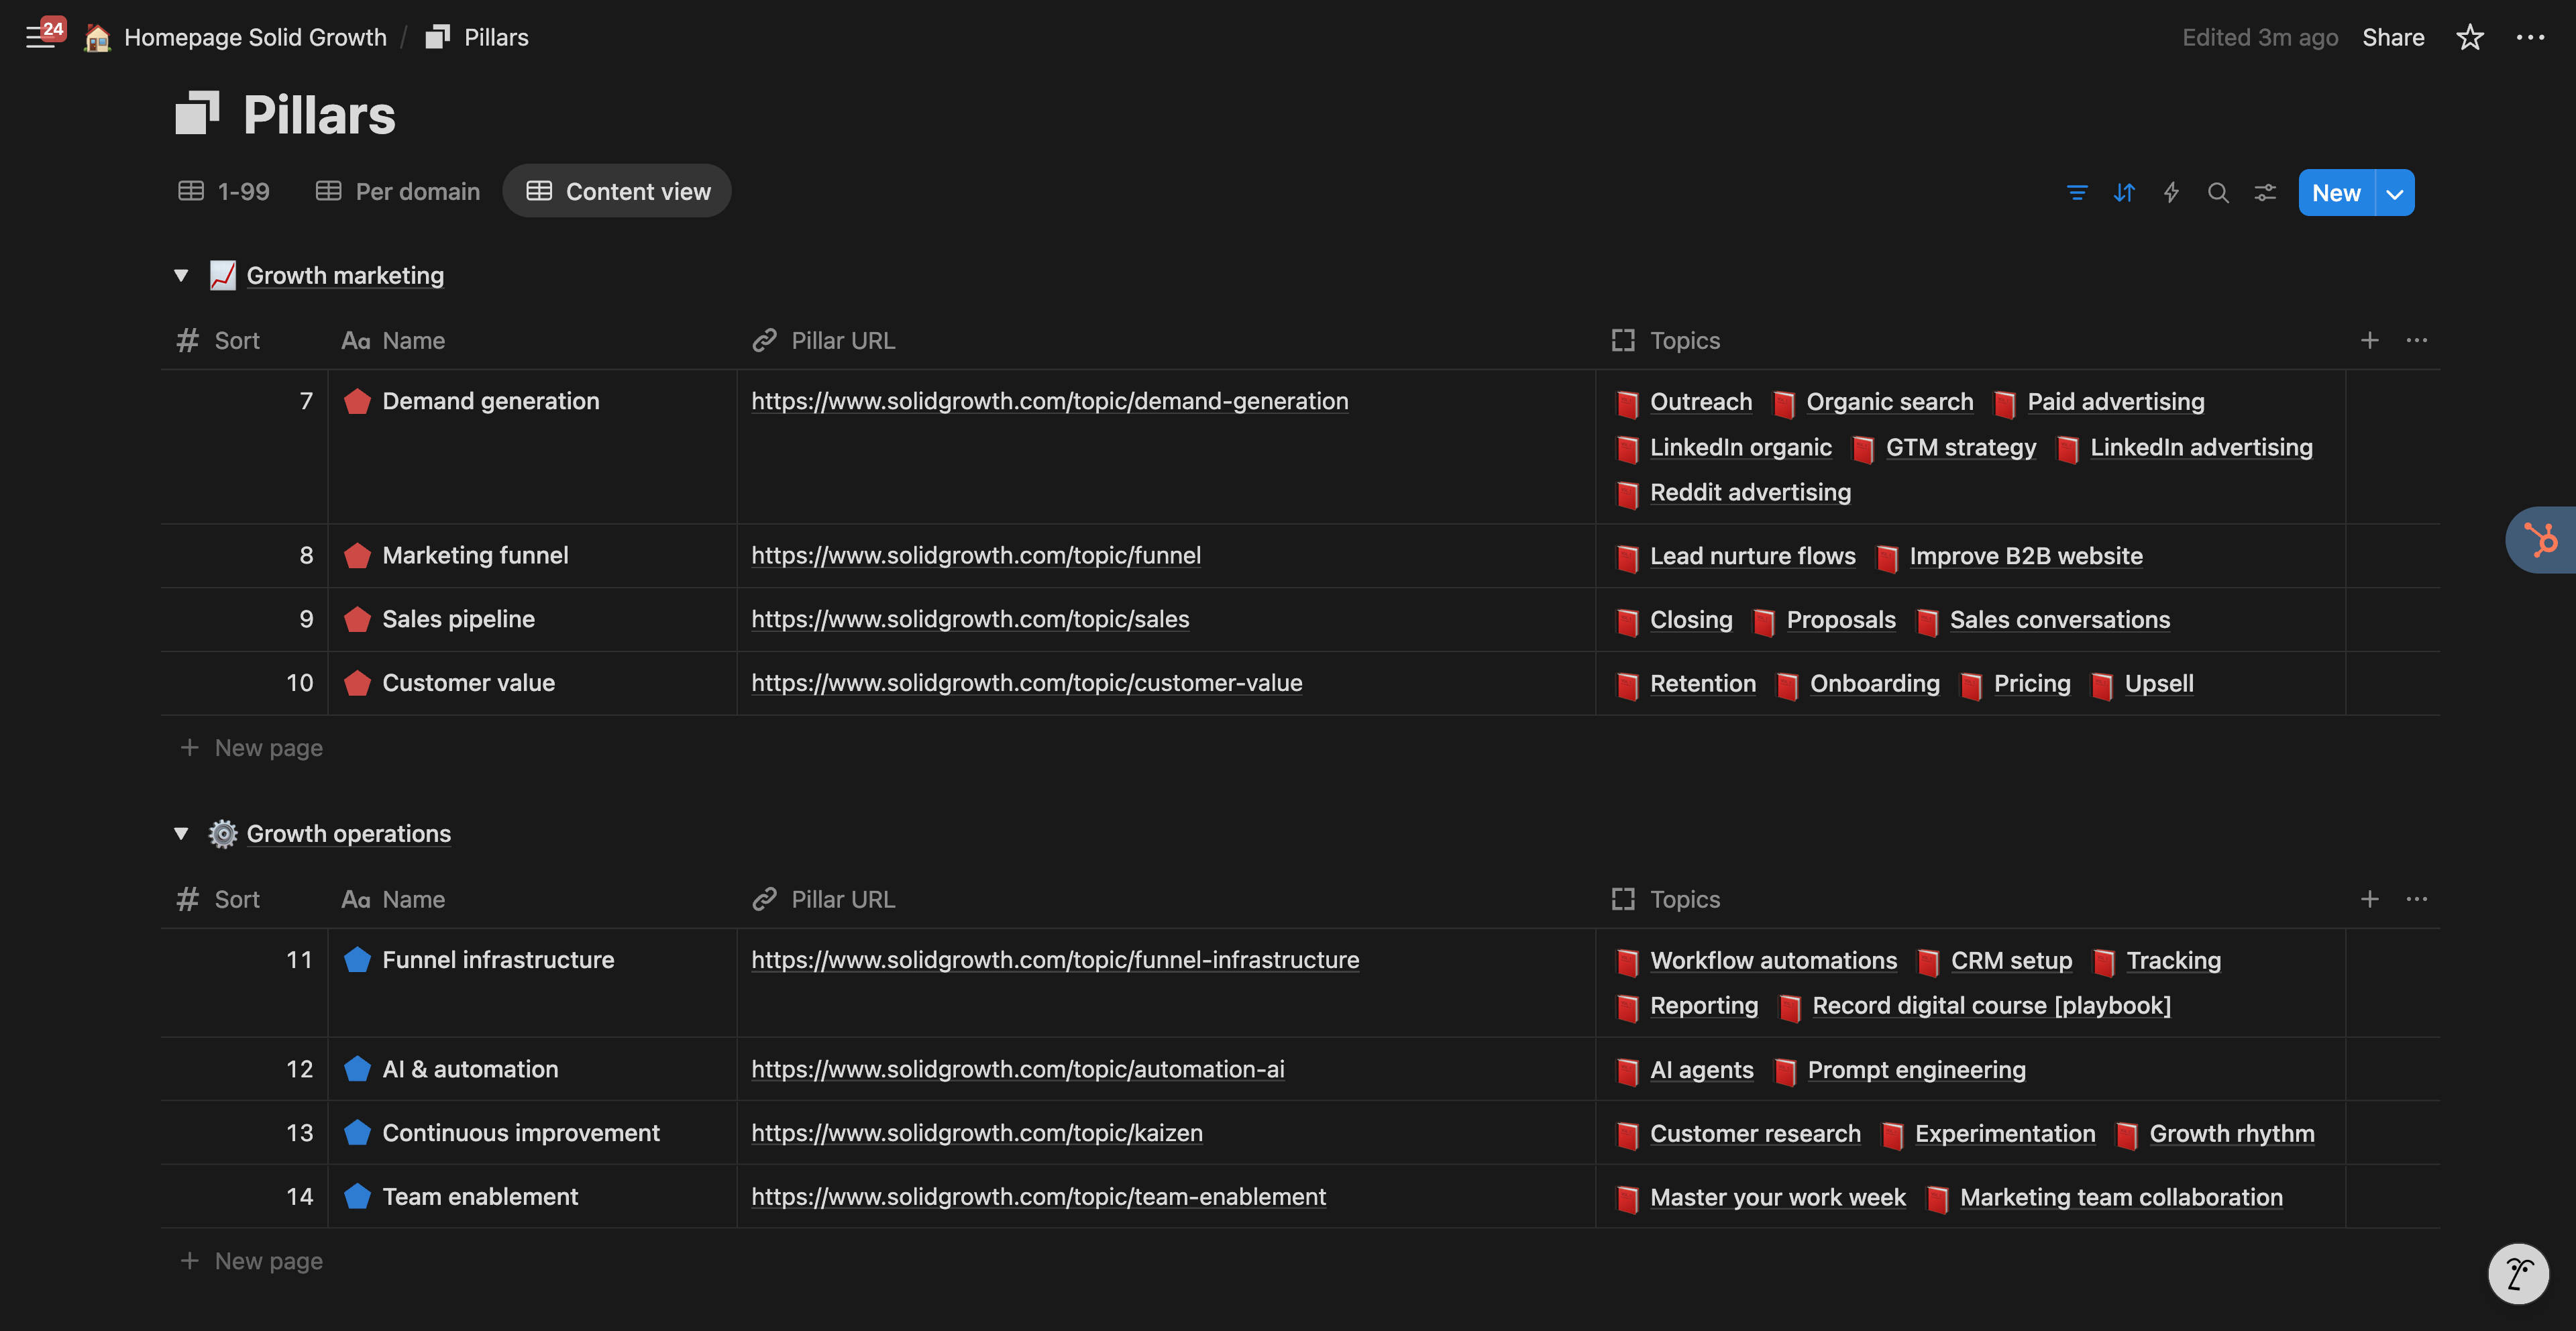
Database 1 – Pillars
Stores the highest-level solution areas and shows how much content each one already owns.
Core properties
Name – short, memorable label (for example, Demand generation)
Scope – one-sentence statement of what the pillar covers
Linked topics – relation to the Topics database
Priority – high, medium or low to guide focus in sprint planning
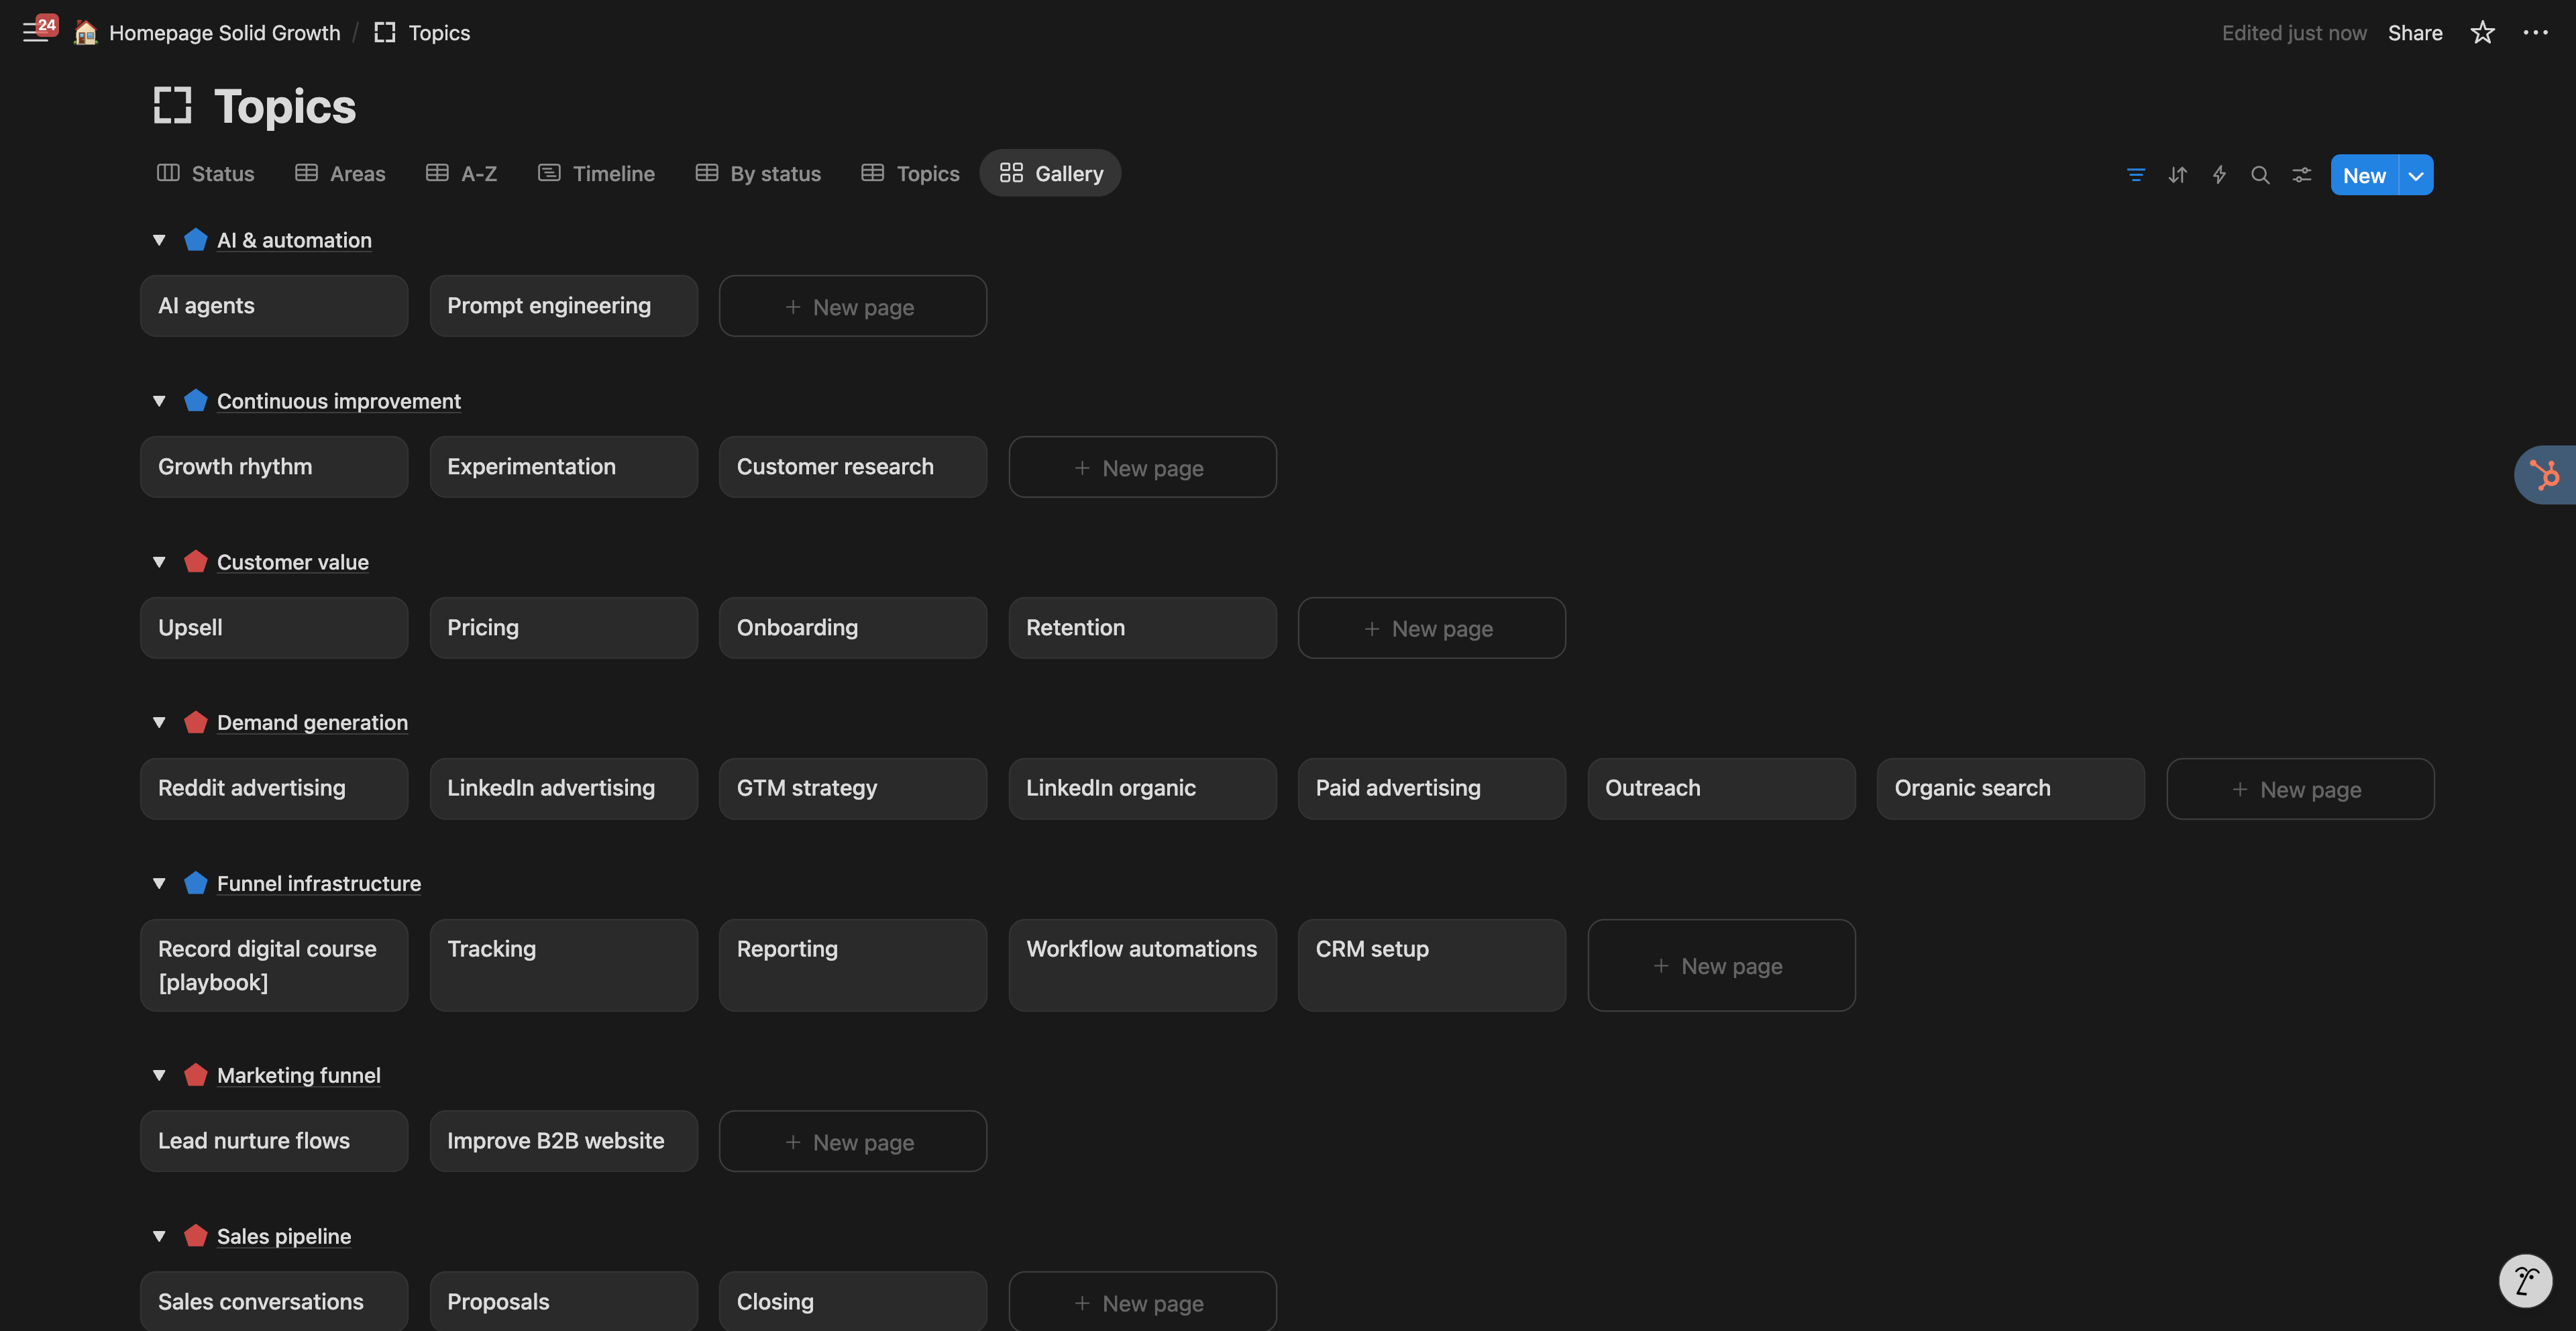
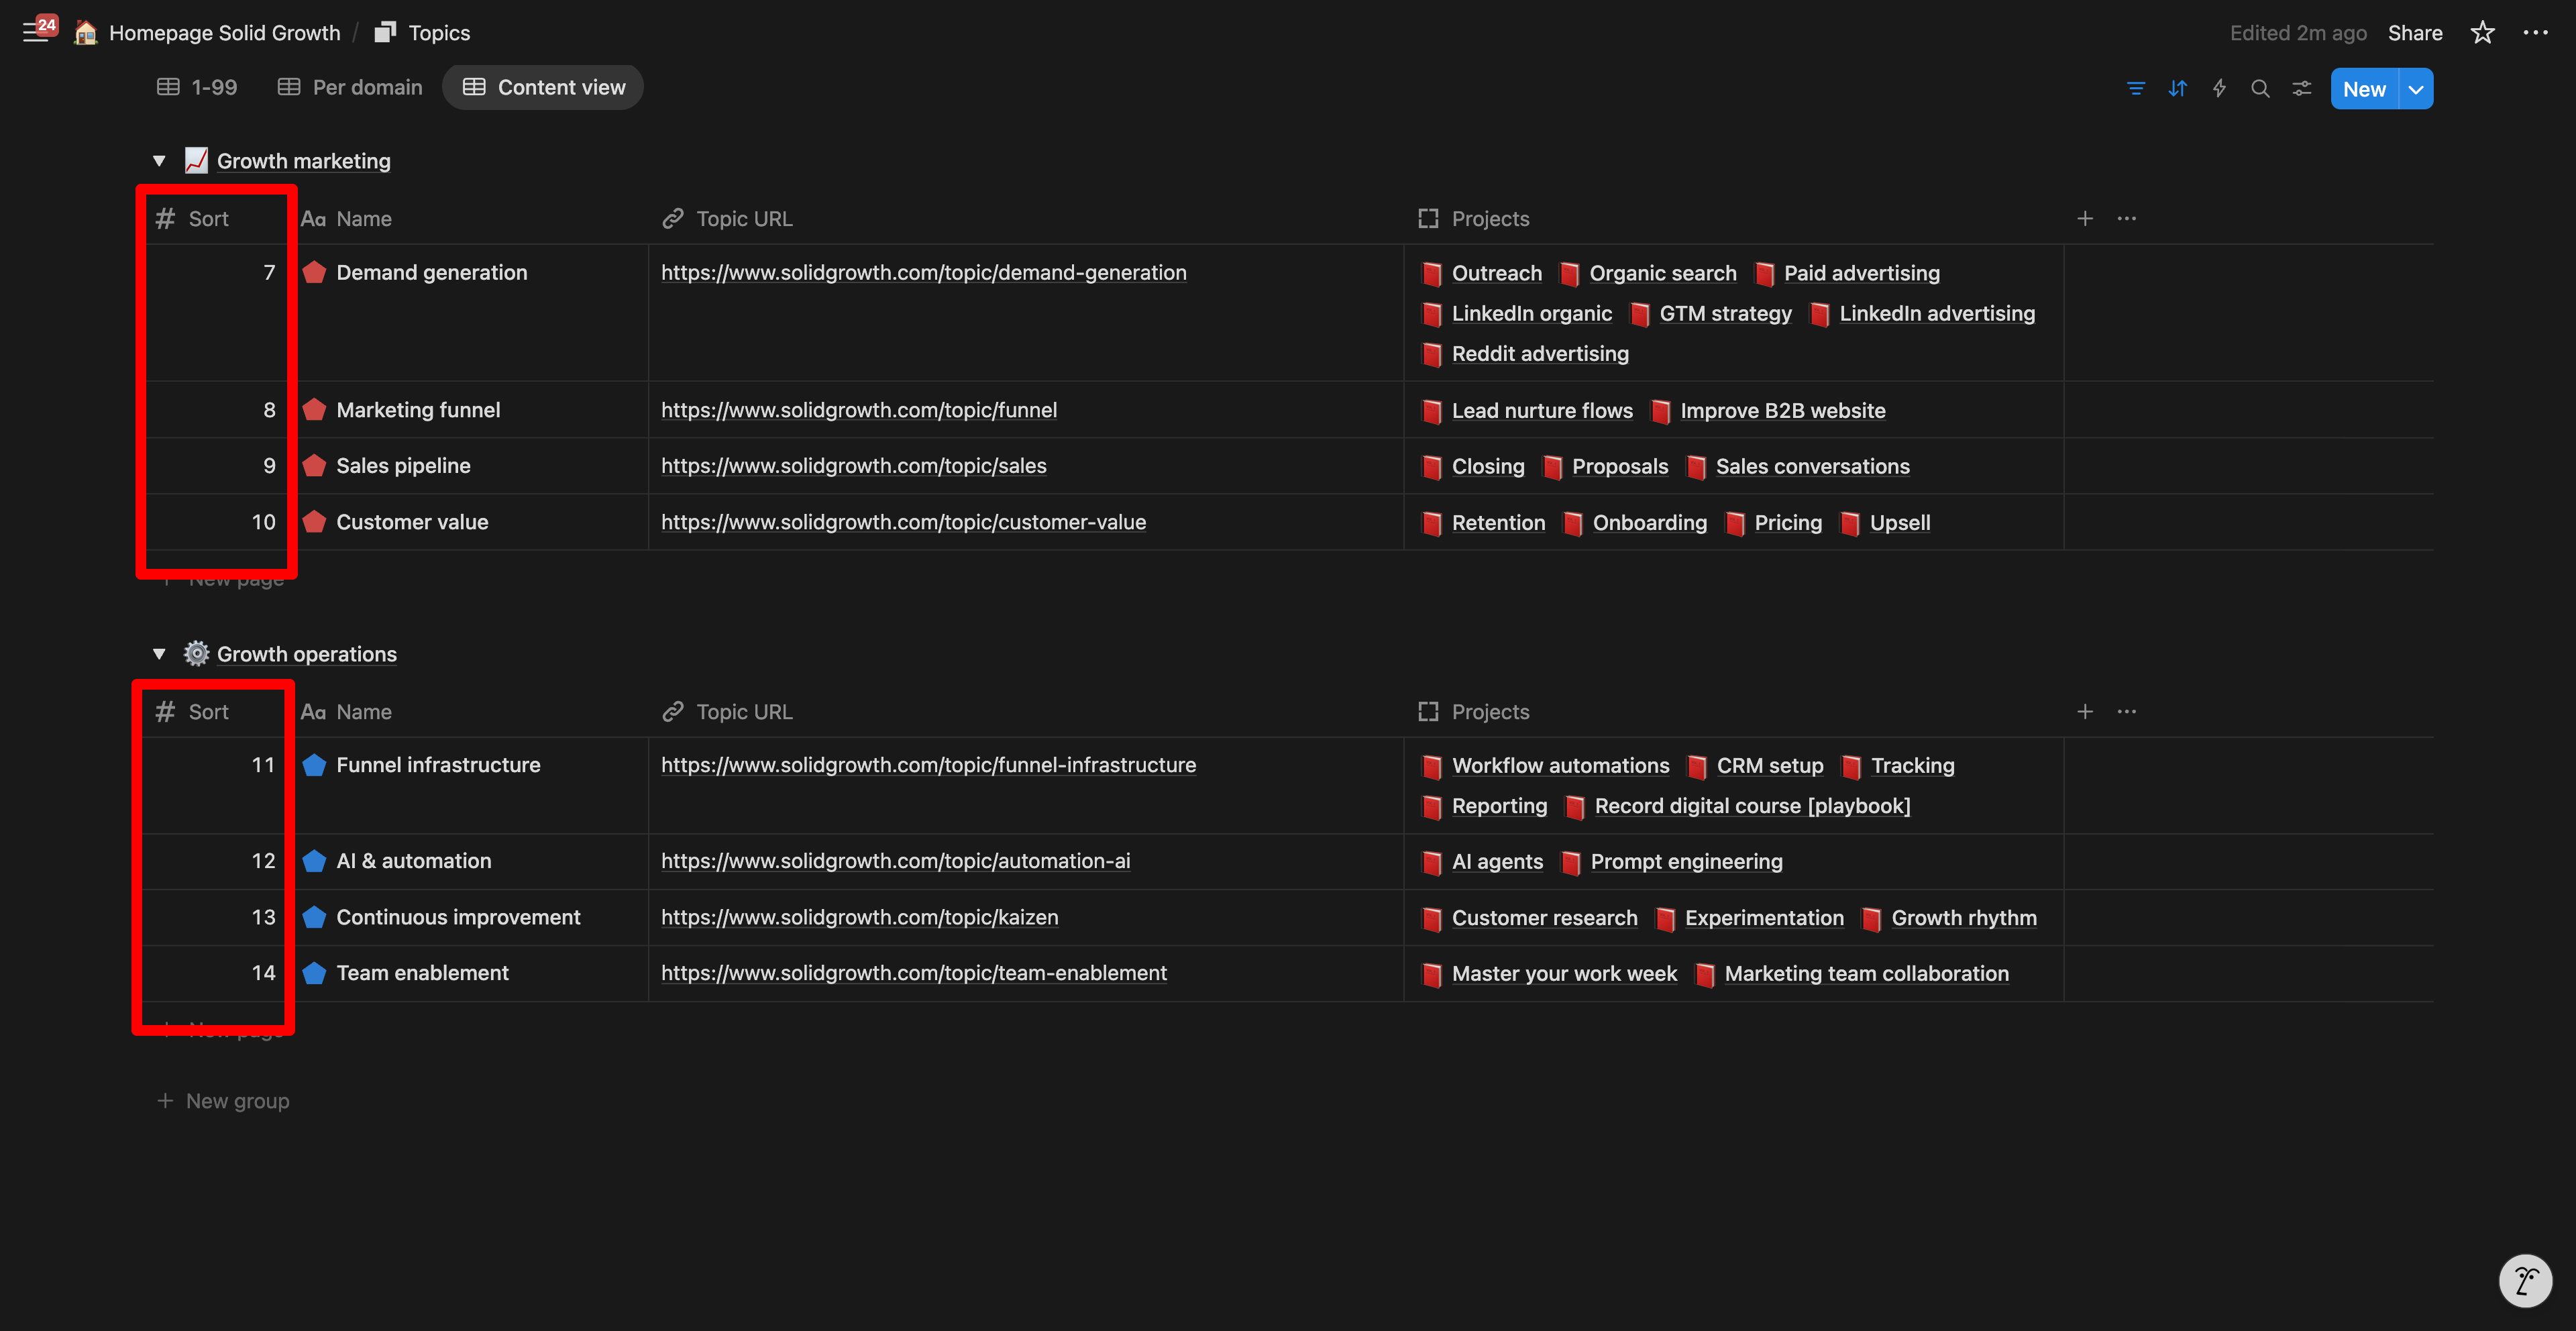
Database 2 – Topics
Holds the mid-depth clusters that roll up to a pillar and down to individual articles.
Core properties
Name – clear slice of the pillar (for example, LinkedIn advertising)
Sorting – number field to control order in views
URL – planned slug for the topic page
Linked articles – relation to the Articles database
Linked pillar – relation to the Pillars database
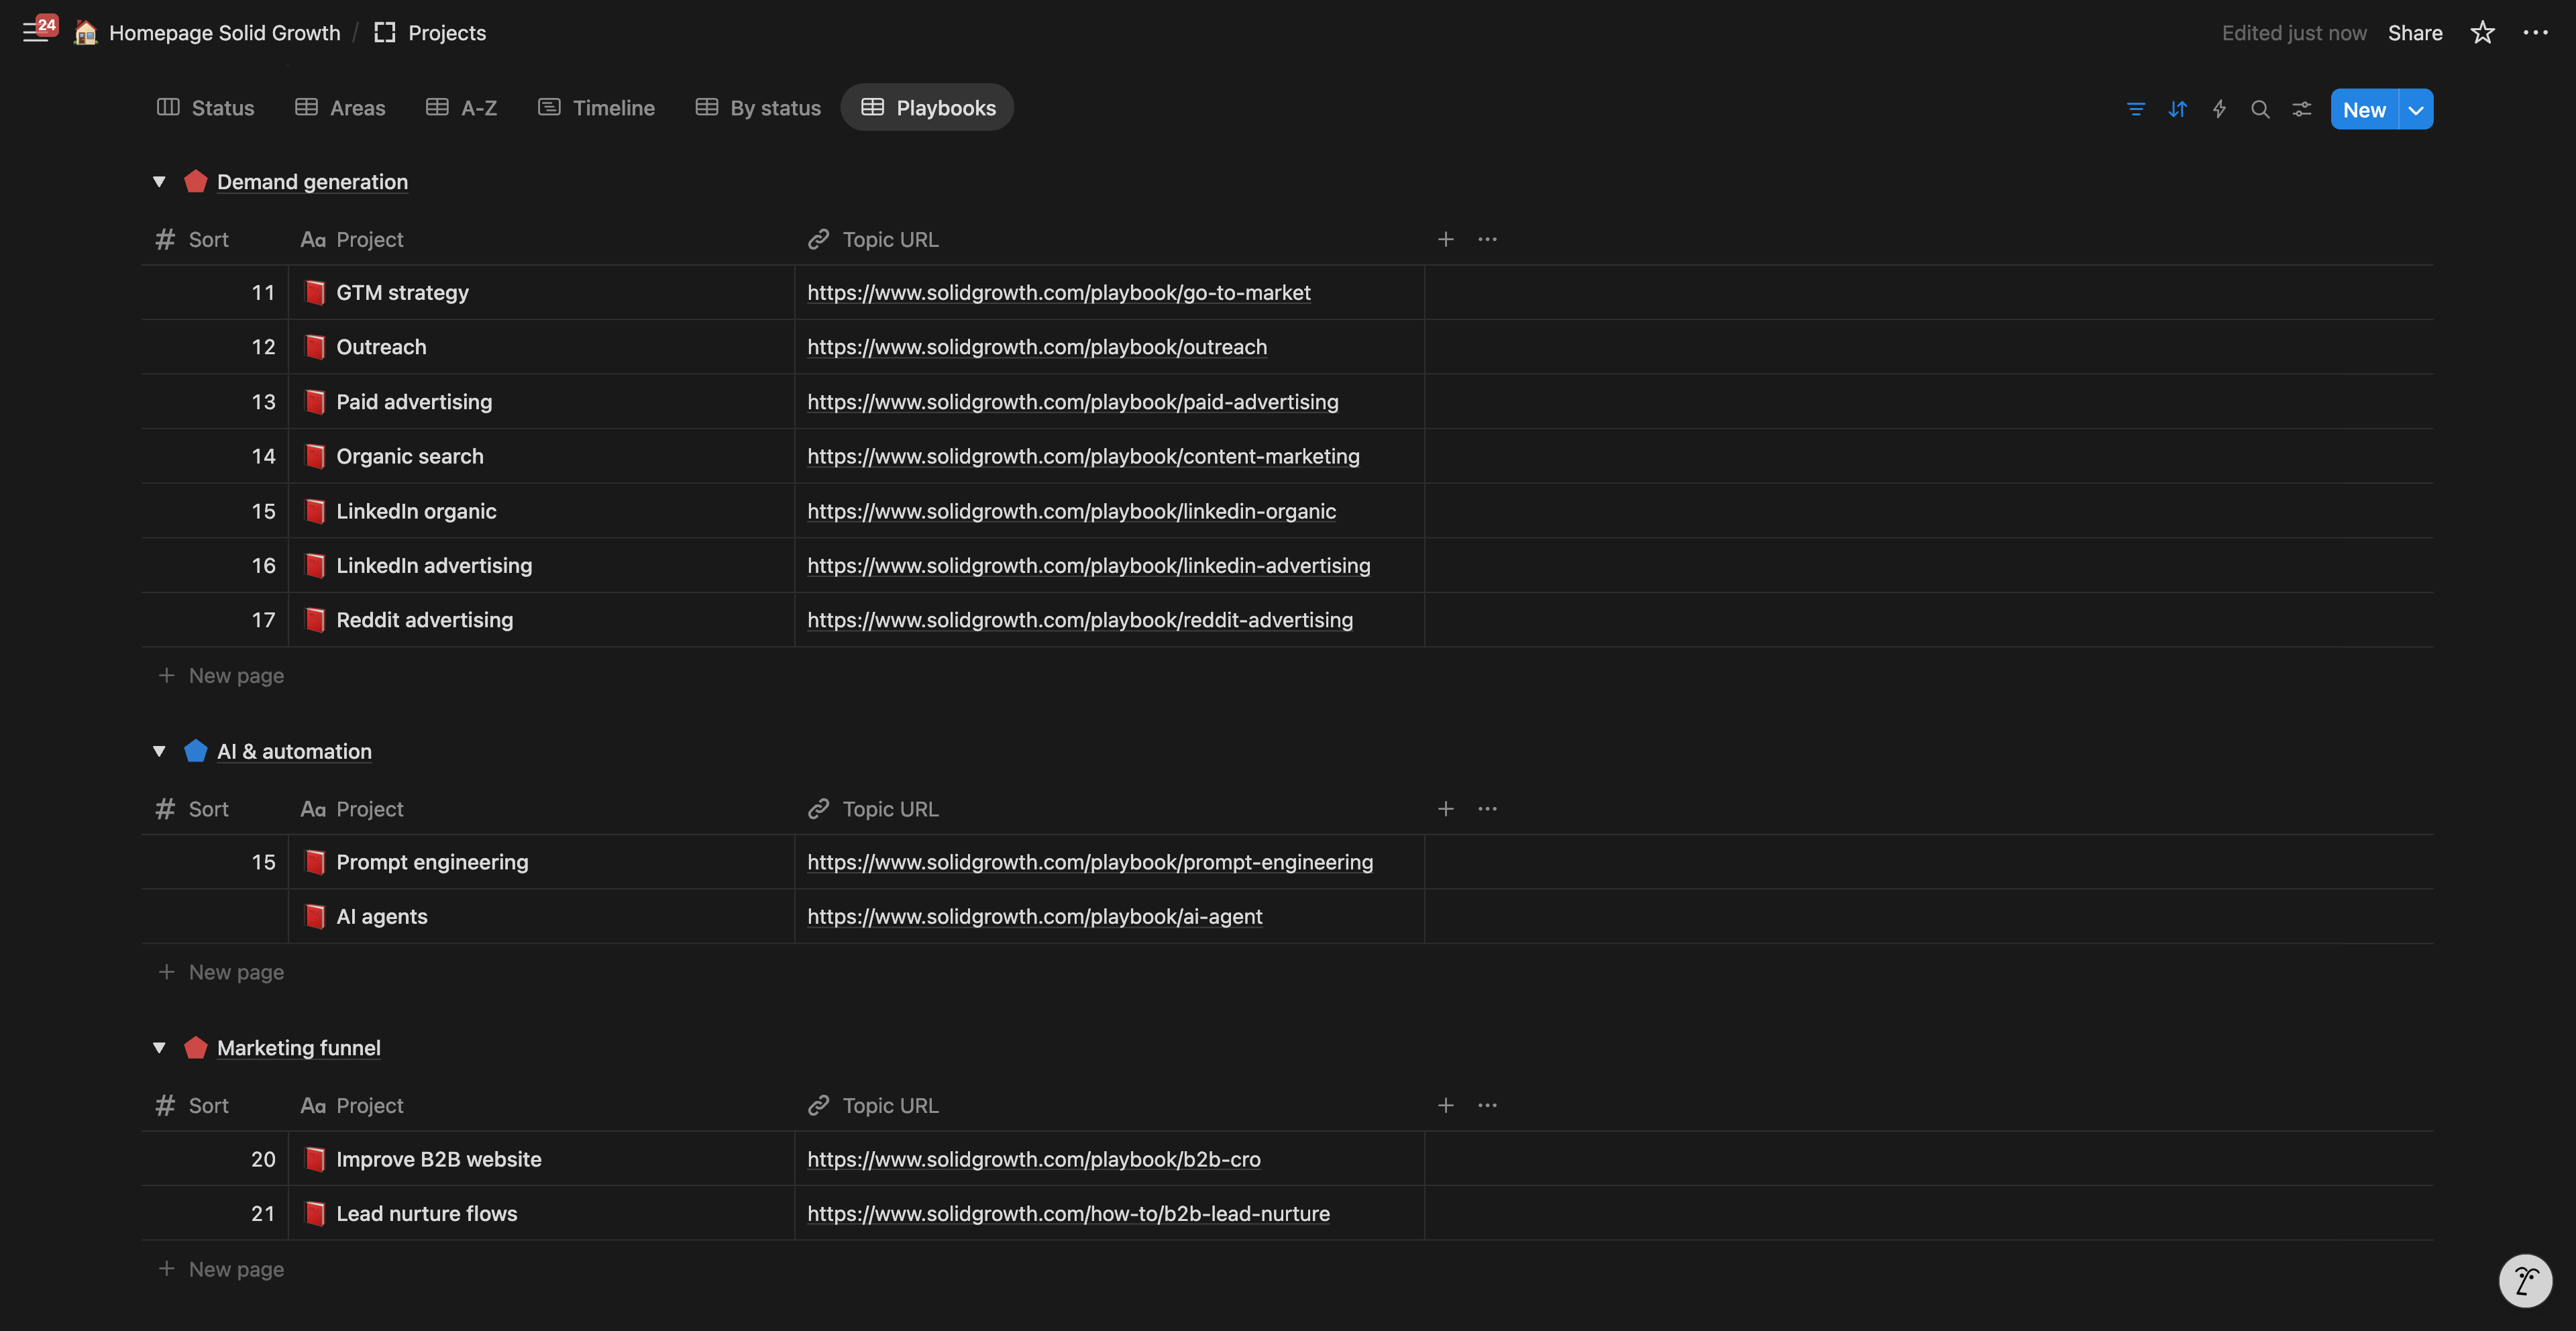
Database 3 – Articles
Tracks every content piece from idea to published and links it to its parent topic and pillar.
Core properties
Title – working headline for the article
Status – Idea, Research, Draft, Edit, SEO, Published
Owner – person responsible for the next action
Due date – target publish date
URL – final slug
Linked topic – relation to Topics
Linked pillar – relation to Pillars
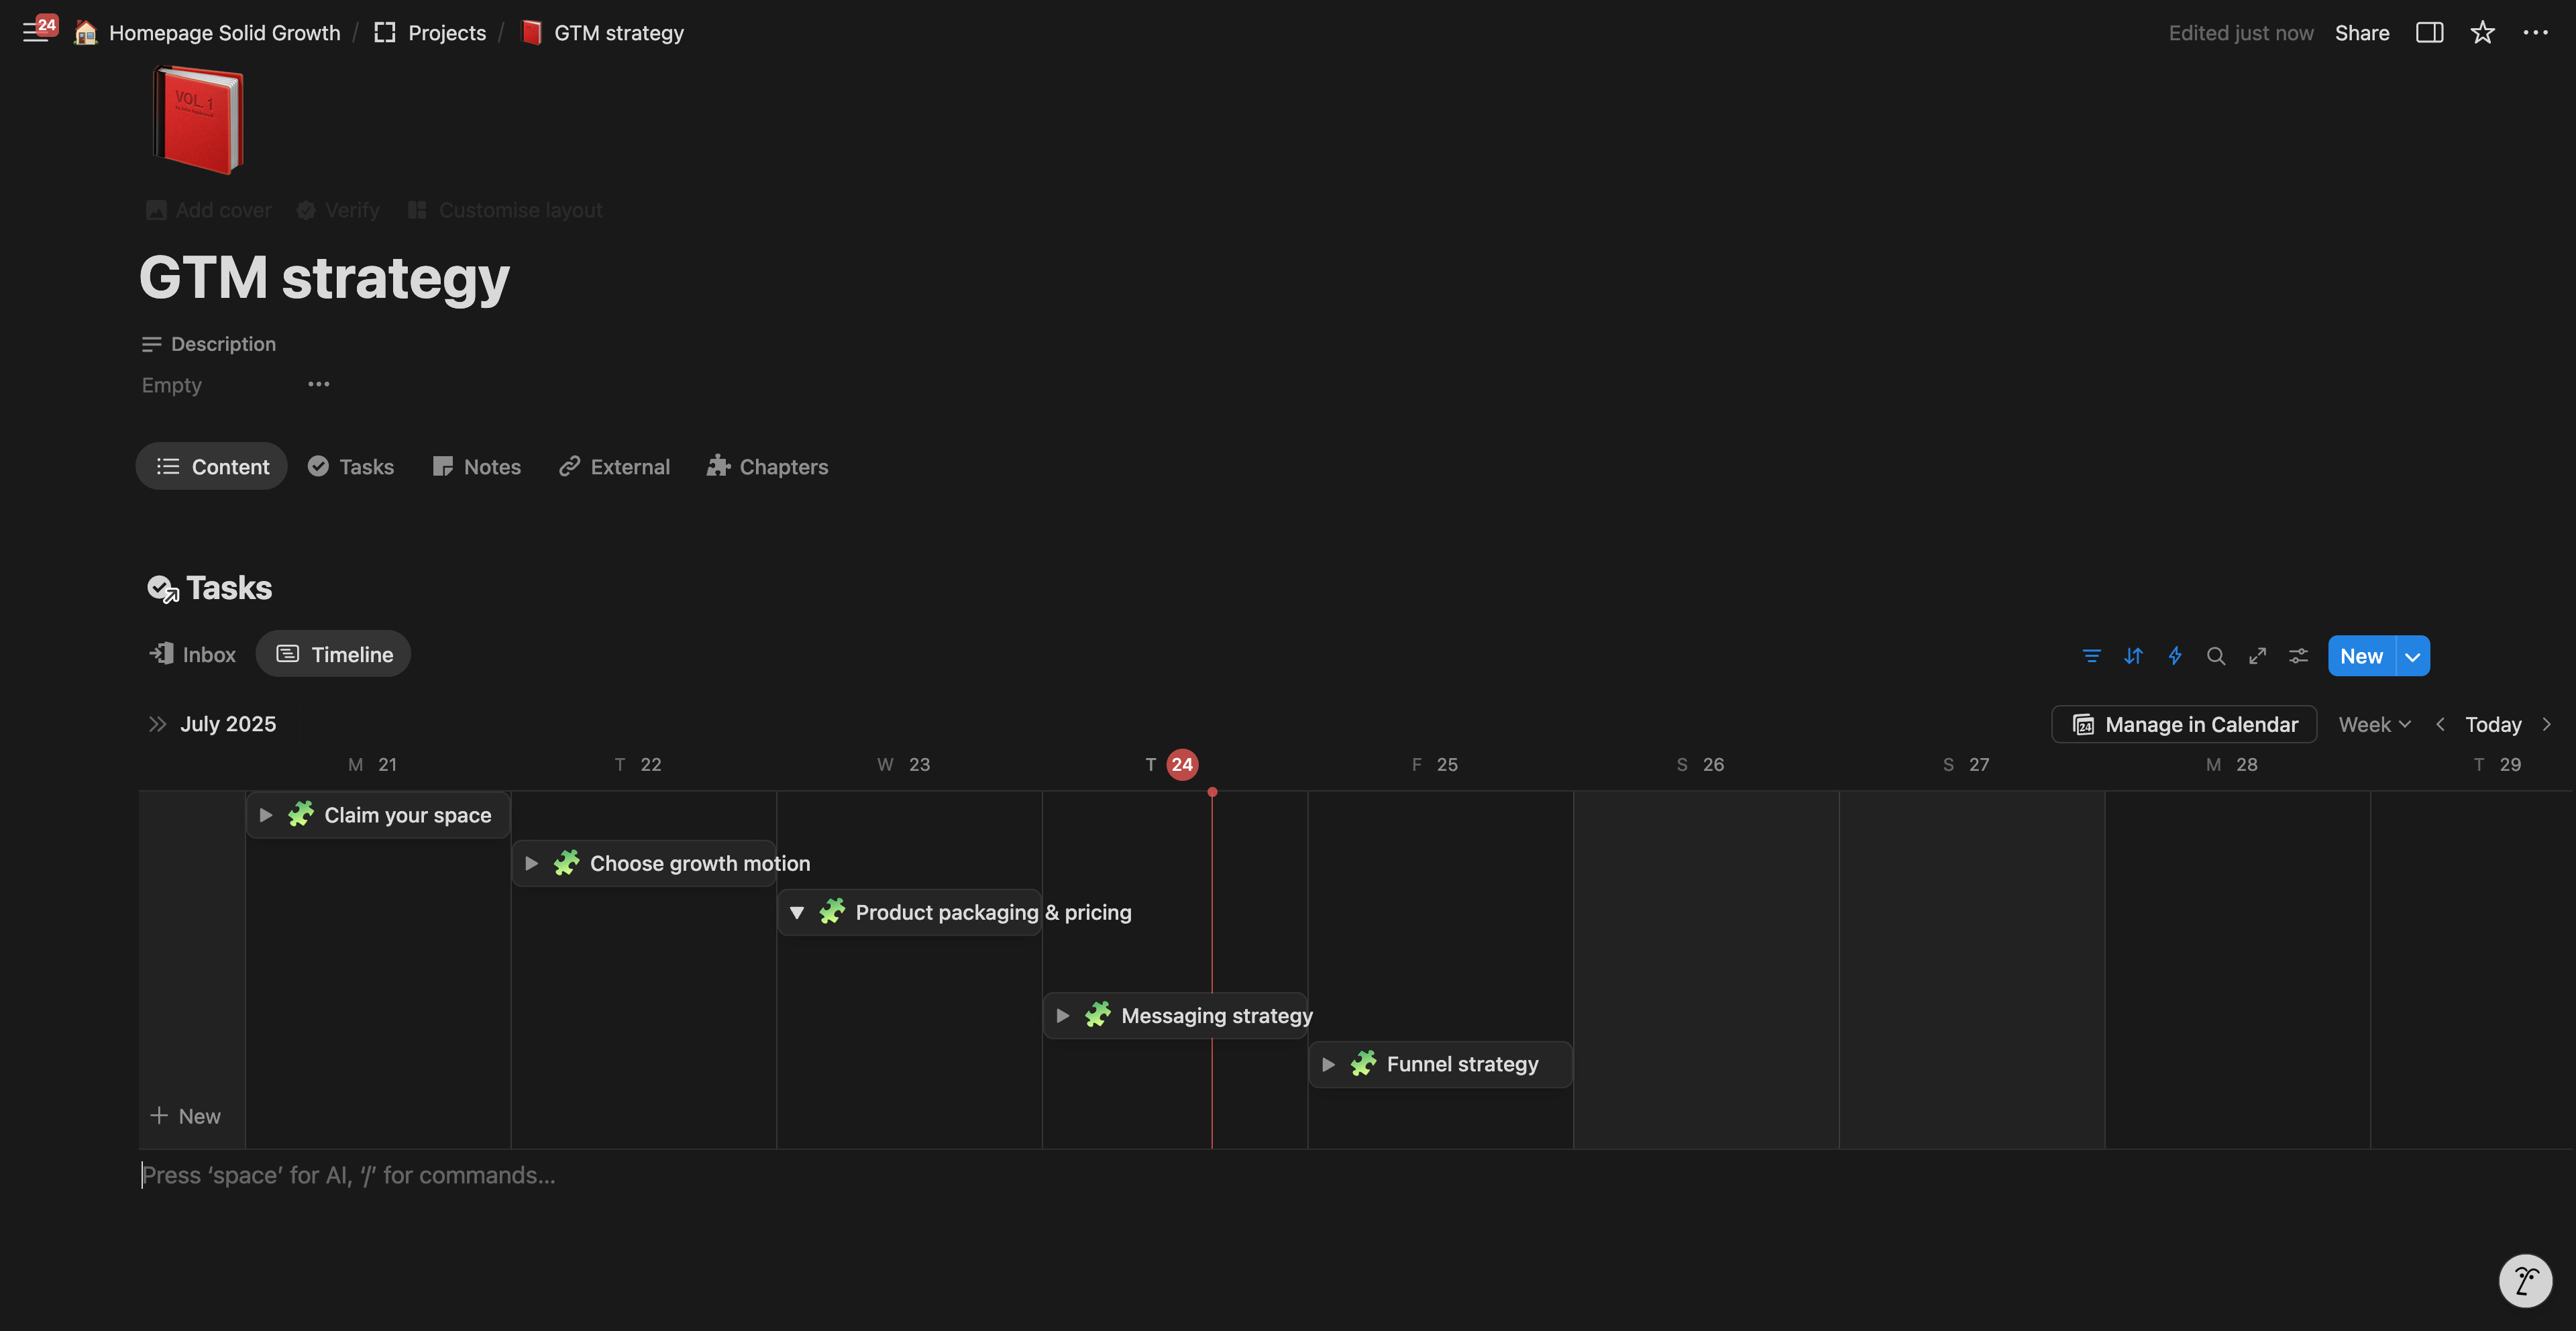
How to build it
In Notion click New database three times and name them Pillars, Topics and Articles.
Add the properties listed above to each table. Use Relation for linked fields and Rollup if you want automatic counts.
Create a Pillar dashboard view that groups articles by pillar so you see content depth at a glance.
Add a Kanban by status view in Articles to move cards from Idea to Published.
Set up a Calendar view filtered by Due date to watch deadlines.
Prioritise your backlog by impact and effort
A full content map can feel overwhelming, so you need a way to decide what to tackle first. Work top-down: start with pillars, narrow to topics, then schedule the articles.
1. Rank pillars by business impact
List your pillars in the Pillars database and assign each one a score for revenue relevance, search demand and strategic urgency. The pillar with the highest combined score becomes your first focus.
2. Prioritise topics inside the chosen pillar
Open the Topics database, filter by the pillar you just selected and score each cluster the same way. Choose the topic whose articles will add the most authority with the least effort. This topic forms your next sprint.
3. Pick one playbook per sprint
Commit to finishing the current playbook before touching the next. This keeps internal linking tight and delivers a topic page that looks complete as soon as it goes live.
By moving from pillar to topic to article in this order you avoid context-switching, maintain momentum and see measurable gains sooner.
4. Create a realistic timeline for articles
Count the articles required to complete the chosen topic. Estimate writing and editing time for each, then block those slots on your calendar. A simple rule is one substantial article every two or three working days; adjust up or down based on your bandwidth.
Build a repeatable production workflow process
Creating quality content on schedule is less about inspiration and more about discipline. The checklist below breaks my process into clear stages, so nothing slips through the cracks. Most beginners miss at least one of these steps. Usually research depth or promotion and the piece either stalls or never reaches its audience. Follow each stage in order and you will publish faster without sacrificing substance.
Backlog
Save every idea here, no matter how rough. When a customer asks a question or a new angle strikes you, dump it in the Backlog with a quick note on pillar and topic. The board becomes a running list of inspiration that never runs dry.
Checklist
Add working headline and short note on the reader’s problem.
Tag Pillar and Topic cluster.
Attach source link or transcript snippet if available.
Common mistakes
Scattering ideas across multiple apps.
Forgetting to tag pillar and topic.
Leaving notes so short you forget the point later.
Research
Explore the full scope of the subject. Watch YouTube talks, read competitor posts and scan academic papers. The goal is to collect every angle so your article covers more ground than a single viewpoint.
Checklist
Add three reputable sources and one opposing view.
Pull five data points or quotes into the card.
Note keyword phrases and search intent.
Common mistakes
Stopping after the first two sources.
Ignoring opposing opinions that add balance.
Forgetting to store links in the card.
Draft outline
Ask ChatGPT to sketch a four-section structure: introduction, two core sections and a wrap-up. Add bullet points for the before state, the desired after state and the action steps.
Checklist
Generate outline with clear H2 and H3 headings.
Write a one-sentence transformation statement.
Add bullet points for each section’s key ideas.
Common mistakes
Jumping straight to a full draft and losing structure.
Using headings that are too broad to guide the reader.
Skipping the transformation statement.
Write post
Block ninety minutes and turn the outline into a first draft. Write without editing so you finish the full pass in one sitting.
Checklist
Follow outline heading by heading.
Add call-to-action near the end.
Leave placeholders for images or charts.
Common mistakes
Editing mid-sentence and stalling progress.
Adding images too early instead of focusing on flow.
Forgetting a clear call-to-action at the end.
Edit and SEO
Tighten sentences, add examples, drop in screenshots and refine structure. Then handle on-page SEO and index the page.
Checklist
Trim redundant words and split long sentences.
Add two real-world examples or screenshots.
Write title tag, meta description and alt text.
Insert internal links and run mobile preview.
Request indexing in Google and Bing.
Common mistakes
Stuffing keywords until the copy reads poorly.
Skipping alt text and image compression.
Forgetting mobile preview.
Approval and feedback
Share the edited draft with two peers or a subject-matter expert to verify accuracy and depth.
Checklist
Send view-only link with two focused questions.
Set a 48-hour feedback deadline.
Accept or reject comments in one editing pass.
Common mistakes
Asking too many reviewers.
Ignoring clear feedback.
Waiting for perfect consensus.
Repurpose and promote
After publishing, feed the article to ChatGPT and ask it to create a LinkedIn post, carousel or short video. Schedule social shares and newsletter blurbs.
Checklist
Generate condensed LinkedIn post with UTM link.
Schedule first share within 24 hours.
Add article to next newsletter issue.
Log promotion links in the card.
Common mistakes
Hitting publish and moving on without promotion.
Copying the entire article into one social post.
Forgetting UTM parameters.
This workflow ends when your repurposed post goes live and every link is tracked. At that point the article is earning views, social engagement and fresh keyword data you can use to refine the next batch. Move the card to Done, celebrate the small win and pull the next idea from the Backlog.
Publish and promote each piece systematically
Conclusion
A solid content production workflow turns strategic ideas into published assets that drive traffic and leads. By storing every idea in one board, scoring topics for impact, and moving each article through research, drafting, editing, optimisation, repurposing and promotion, you remove bottlenecks and keep quality high. Use the checklists to stay on track, update scores as new data arrives and pull the next idea when the current card hits Done. With your system in place you are ready for Chapter 3, where we dive into writing high-quality content that deserves to rank.
Write content that educates, engages, and converts with clear transformation. Create for one reader with proof, optimise for search, drive qualified traffic.
Plan content publication in advance to maintain consistency, balance topics, and coordinate promotion rather than scrambling to create content reactively.
Create comprehensive hub pages on core topics that link to related subtopic content to establish topical authority and improve rankings across topic clusters.
Optimise individual pages for target keywords by improving titles, headings, content, and internal links to help search engines understand topic relevance.
By clicking “Accept All Cookies”, you agree to the storing of cookies on your device to enhance site navigation, analyze site usage, and assist in our marketing efforts. View our Privacy Policy for more information.